A quick way to create a ReactJS and Spring Boot app

Creating a fresh ReactJS and Spring Boot application involves a lot of configuration changes and testing. It is a repetitive process if you frequently make this type of application. Instead of repeating the same thing, let’s reuse the existing pre-configured application. We follow below three sections to create an end-to-end application.
Create a new application
Clone pre-configured ReactJS and Spring Boot application from here.
git clone https://github.com/kpradeep12/reactjs-spring-boot-project.gitRename this application to whatever name you want. In this case, I am renaming to todo-list
mv reactjs-spring-boot-project todo-listOptional step: There is no need to follow this if you are not planning to push your new project to GitHub. Remove the existing .git folder from the project because it’s better to re-initialize git with a new project. After deleting .git, execute the below command in the project folder.
git initExecute the below command to package and install the application.
.\mnvw clean installNote that this command download’s NPM and Node locally and downloads the required npm packages. This is possible because of the ‘frontend-maven-plugin’ plugin, which we configured in pom.xml. ‘frontend-maven-plugin’ helps Maven-based applications run node and npm commands internally. You can change Node and NPM versions in the pom.xml
Run and test
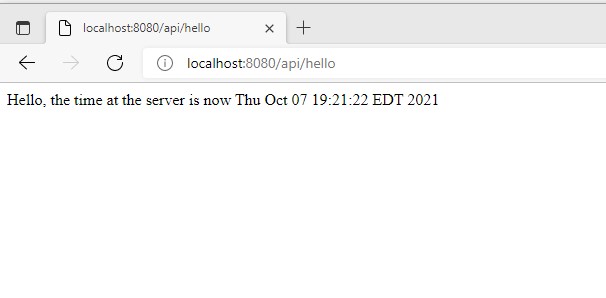
Run Spring application; In the IDE, go to App.java and run it. Once the application is up, then go to the browser and hit URL http://localhost:8080/api/hello. If the application is running properly, then you will see the response.

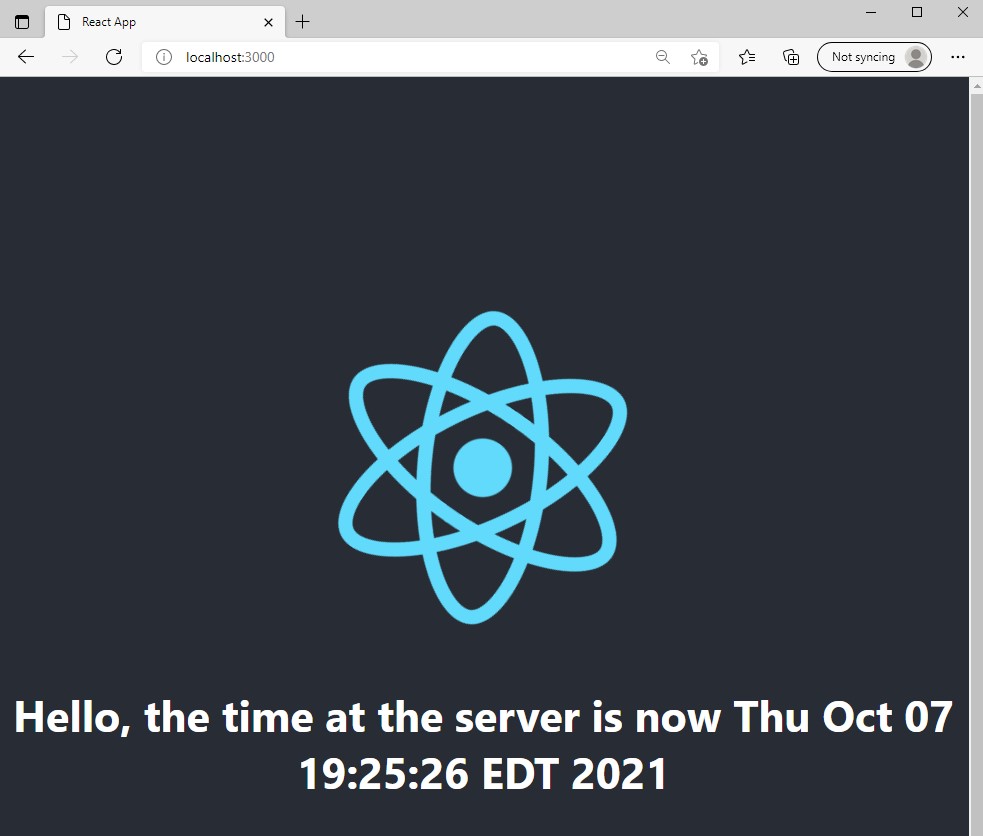
Run ReactJS; In the terminal, go to

Notice that the ReactJS is making a call to the backend and showing the greeting message.
NPM will redirect all the HTTP requests coming from 3000 port to 8080 port. We did this configuration in package.json
"proxy": "http://localhost:8080"This proxy is needed only in local environment because Spring and ReactJS run on different ports.
Note that ‘ui’ folder is generated based on create-a-new-react-app this is a standard folder structure ReactJS recommends.
Package the app for deployment
In the project folder, execute the below command to generate a final .jar file.
.\mnvw packageBecause we used ‘frontend-maven-plugin’, this plugin will internally execute ‘npm install’ and ‘npm build’ and copy all generated static files into target/classes/public folder. We can see all these files in the final packaged jar file. You can run this jar file and access both UI and Spring at port 8080. To run this .jar execute the below command
java -jar <file-name>.jar
